Summary
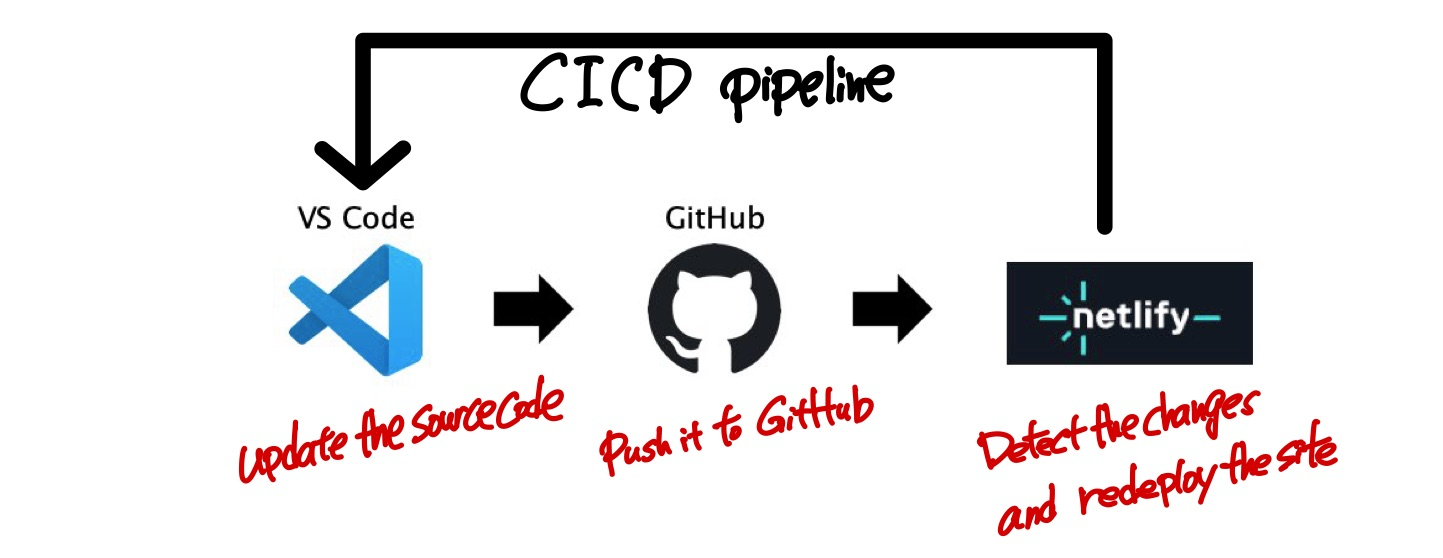
This guide walks you through creating and deploying a static website using VS Code, GitHub, and netlify. You’ll learn how to build a simple website with AI assistance, set up version control, and establish an automated CI/CD pipeline that deploys your changes automatically whenever you push to GitHub.
Install VS Code and Plugins
Download and install VS Code from https://code.visualstudio.com/download
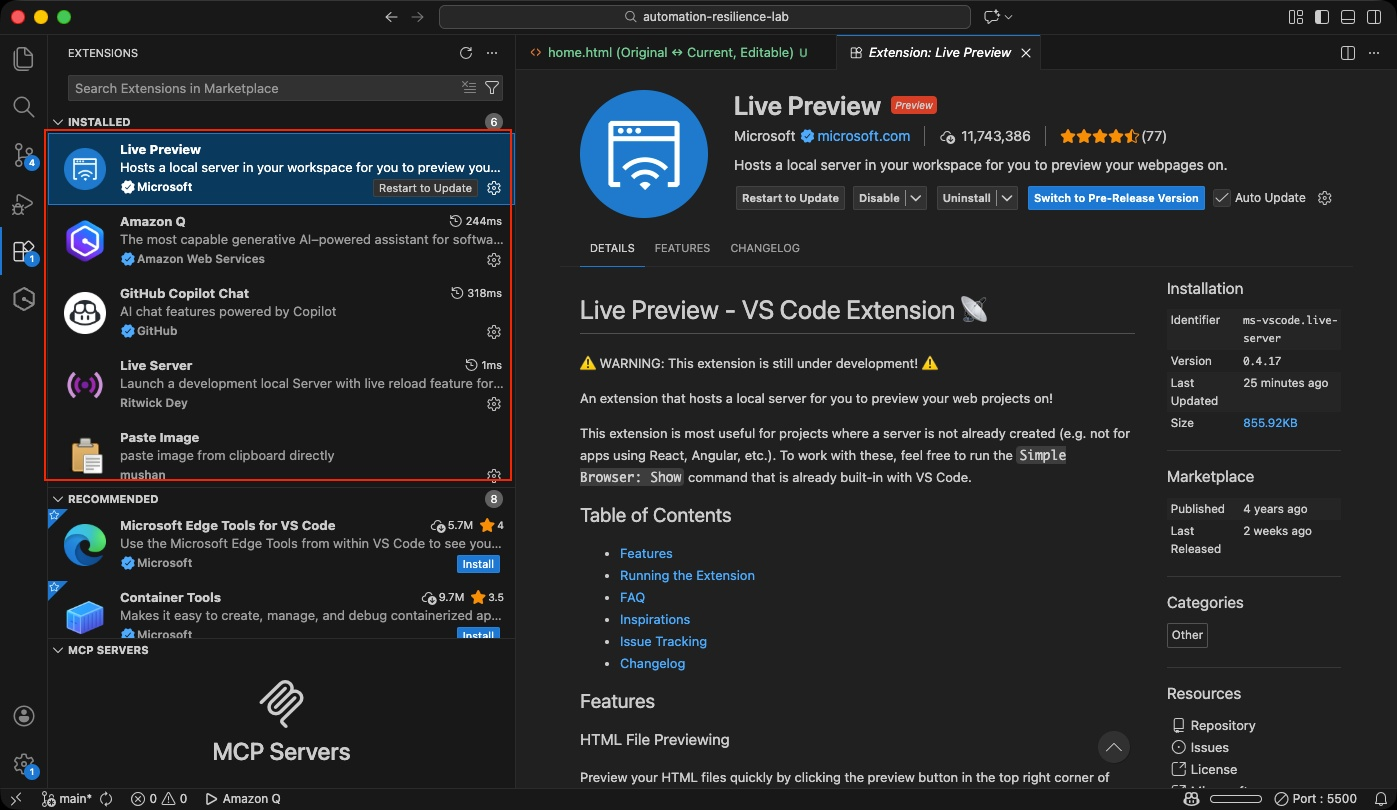
Install Plugins
- Live Preview or Live Server (for previewing your website locally)
- Co-Pilot or Amazon Q (for AI-powered coding assistance)
Prerequisites
Before creating your website, set up GitHub authentication and create a repository:
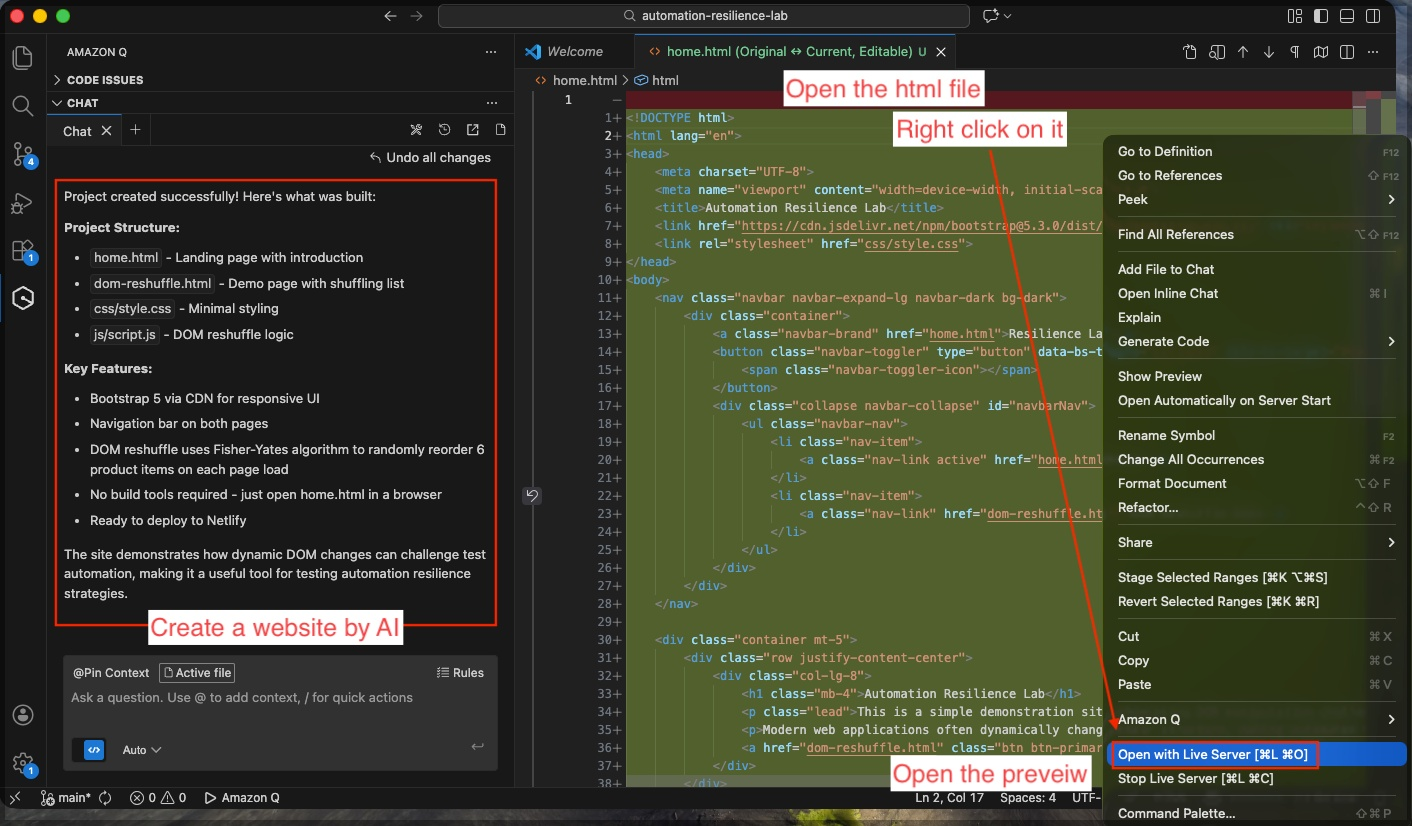
Create a Website Using AI
Here’s a sample prompt you can use with AI assistants like Amazon Q or GitHub Copilot:
Create a minimal static website project that can be hosted on netlify.
Requirements:
1. Project Structure:
- home.html
- dom-reshuffle.html
- /css/style.css
- /js/script.js
2. Technology Constraints:
- Pure static website (HTML, CSS, JavaScript only)
- No backend
- No build tools
- No frameworks except Bootstrap via CDN
- Must work by simply opening home.html
3. UI Requirements:
- Modern clean UI using Bootstrap 5 (via CDN)
- Responsive layout
- Simple navigation bar with links:
- Home
- DOM Reshuffle Demo
4. Functional Requirement (Demonstration Feature):
Implement DOM reshuffling behavior in dom-reshuffle.html:
- Display a list of at least 6 items inside a Bootstrap card.
- When the page loads, use JavaScript to randomly reshuffle the order of the list items.
- Use clean, readable JavaScript inside /js/script.js.
- Keep the logic minimal and well commented.
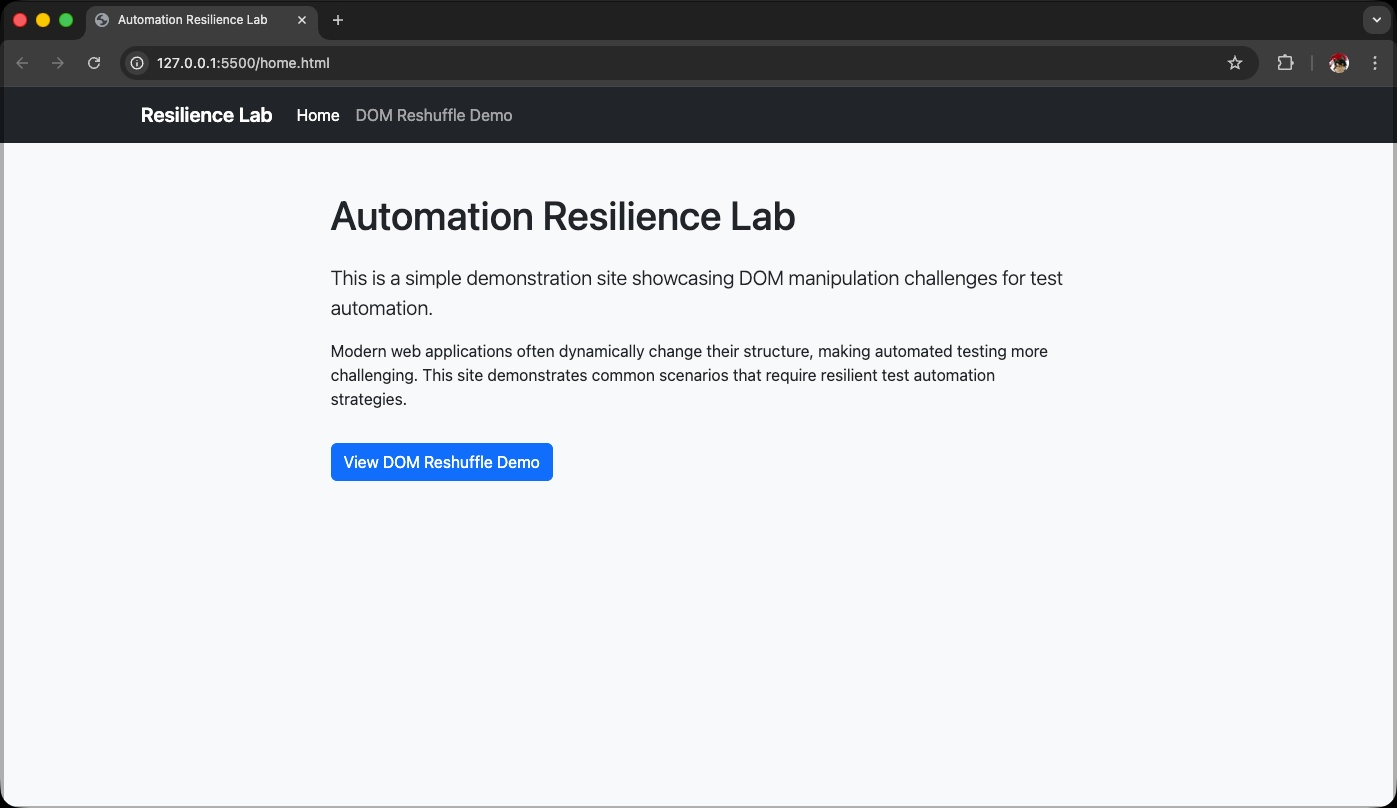
5. Home Page:
- Brief introduction text explaining this is a simple automation resilience demo site.
- Button linking to dom-reshuffle.html.
6. Code Quality:
- Keep everything simple and minimal.
- No unnecessary animations.
- No extra libraries.
- Clean formatting.
- Comment the reshuffle logic clearly.
7. Output:
Provide full code for:
- home.html
- dom-reshuffle.html
- css/style.css
- js/script.js
Preview the Website Locally
Push to GitHub Repository
cd /Users/nob/repo/automation-resilience-lab
git add .
git commit -m "Add static website"
git push origin main
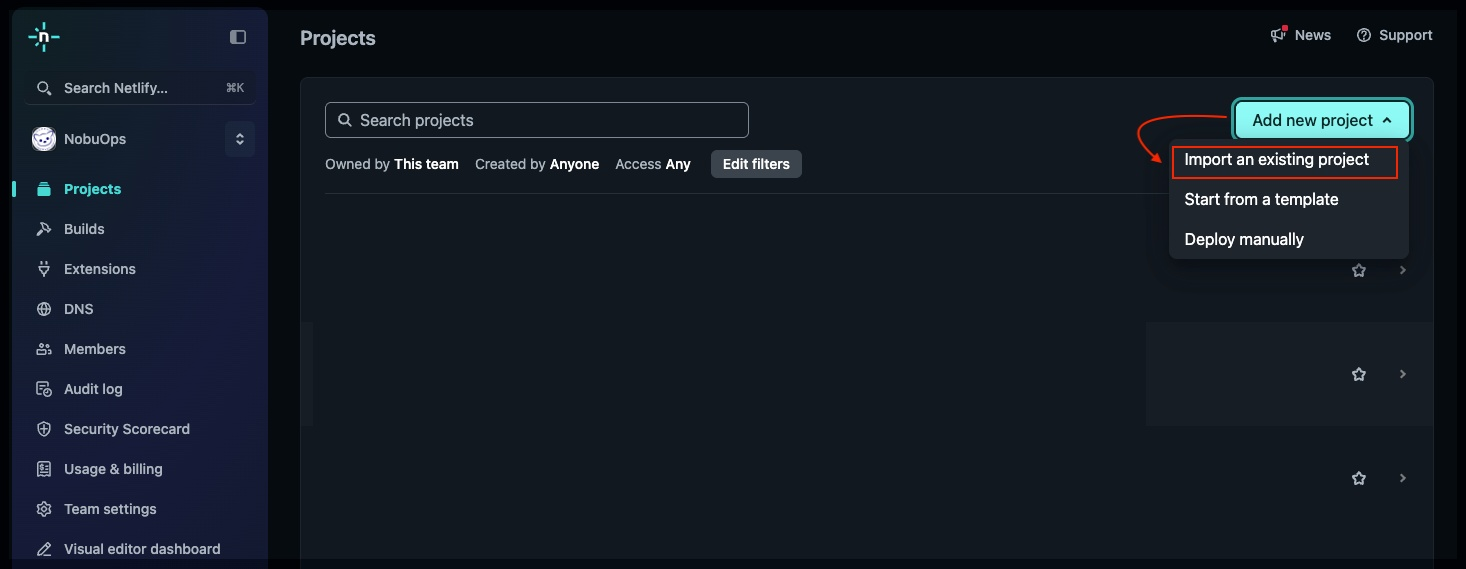
Create a Project in netlify
-
Navigate to https://app.netlify.com
-
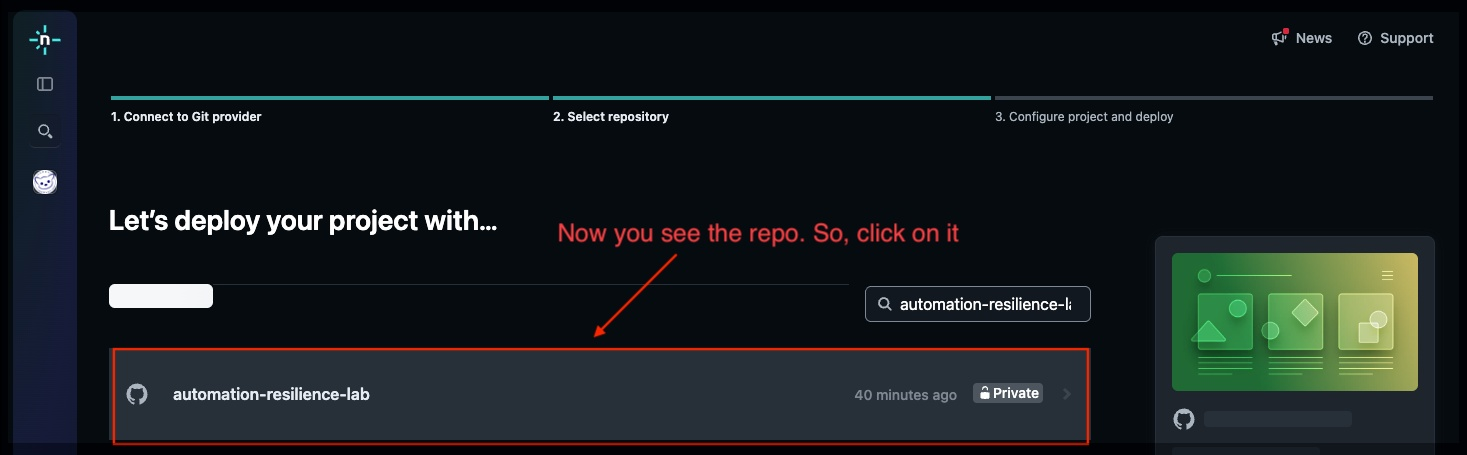
Click “Add new site” → “Import an existing project”
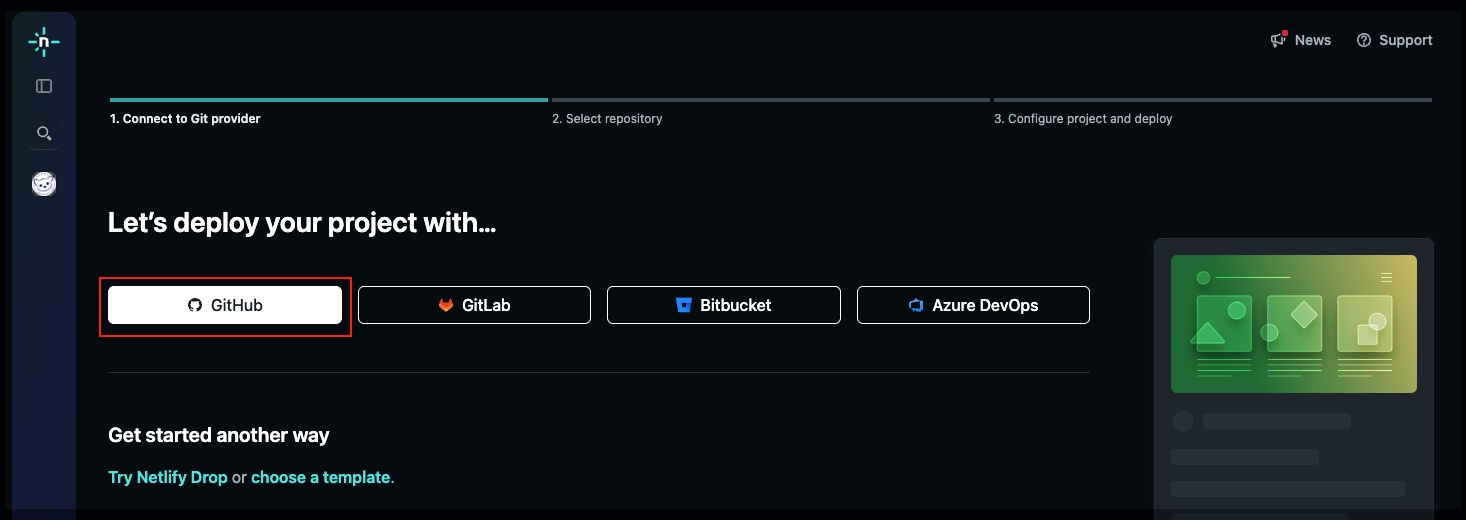
- Select “Deploy with GitHub”
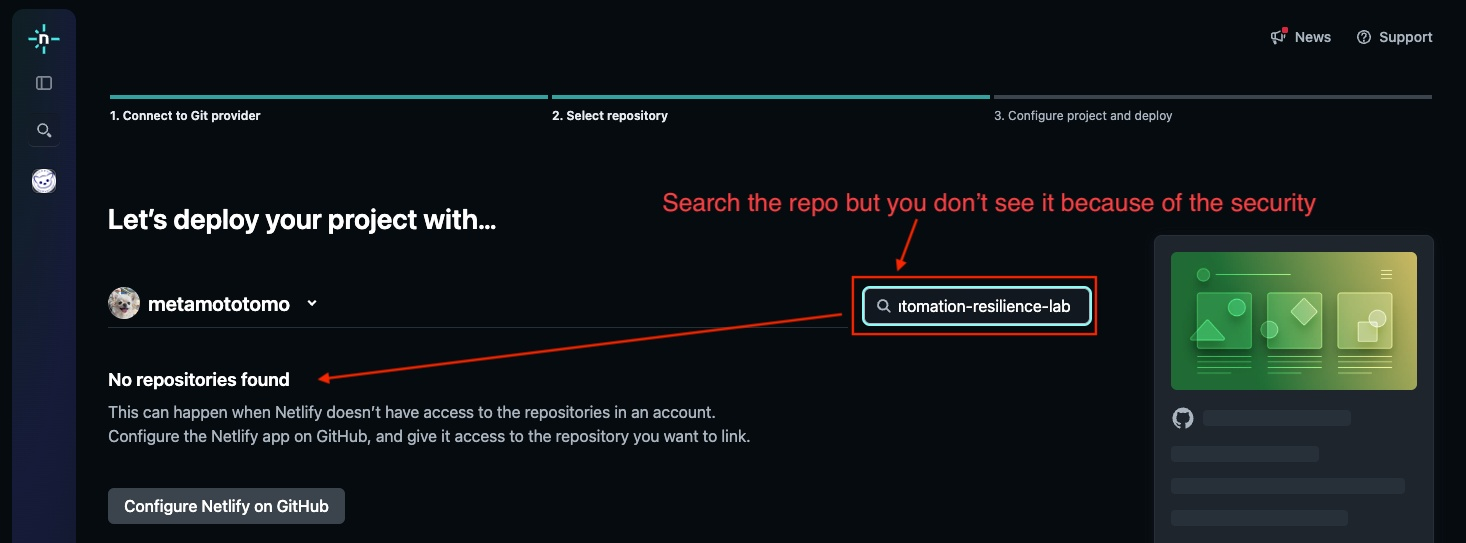
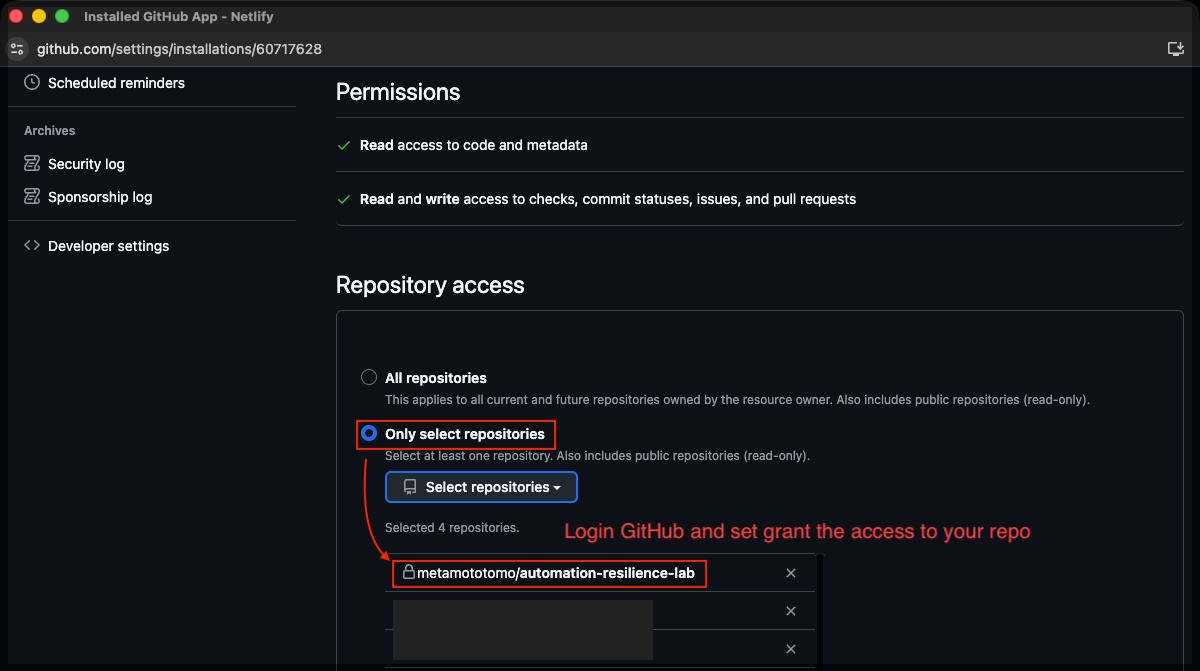
- Choose your repository: automation-resilience-lab
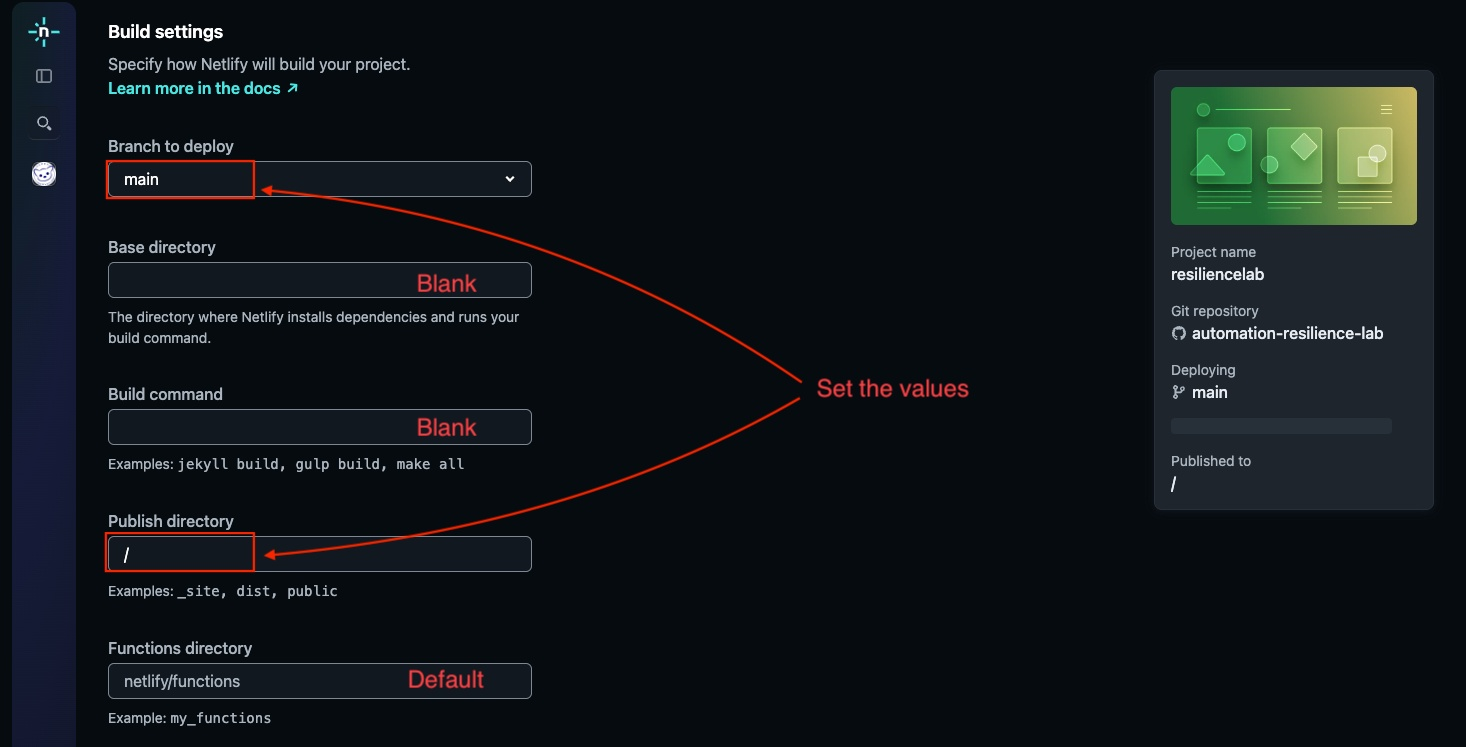
Configure Build Settings:
- Branch to deploy:
main - Build command: (leave empty for static sites)
- Publish directory:
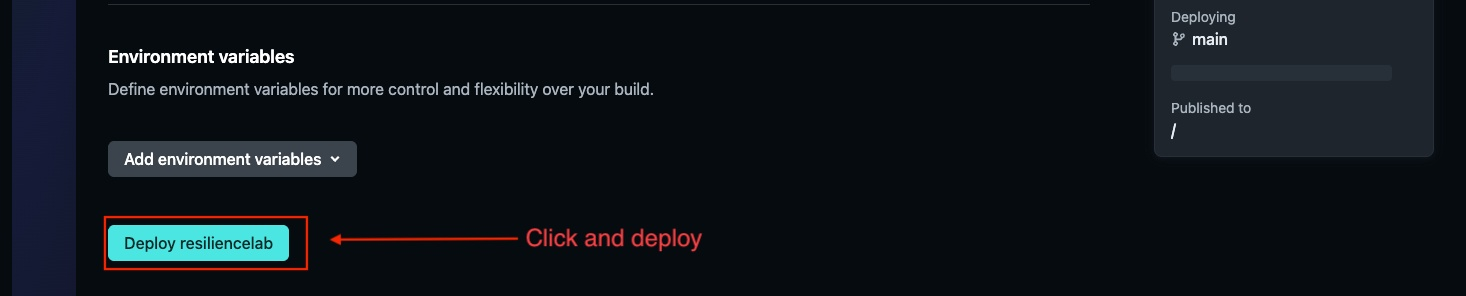
/or. - Click “Deploy site”

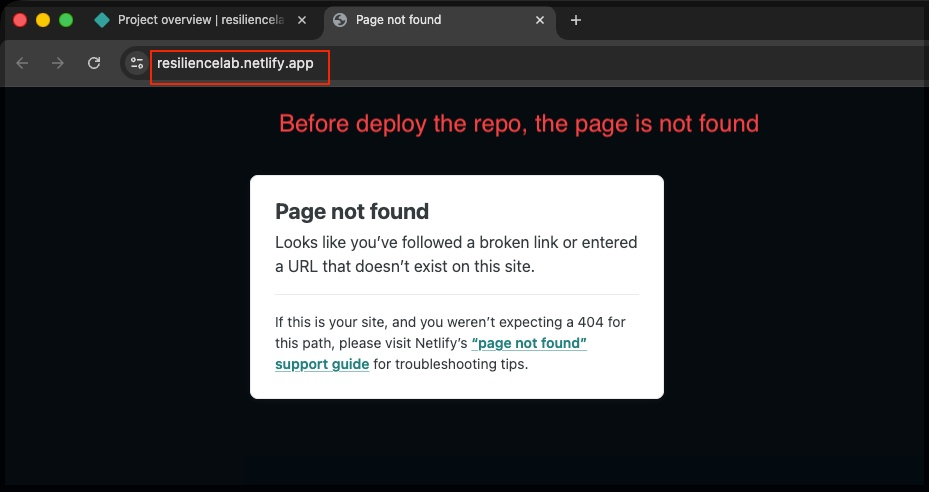
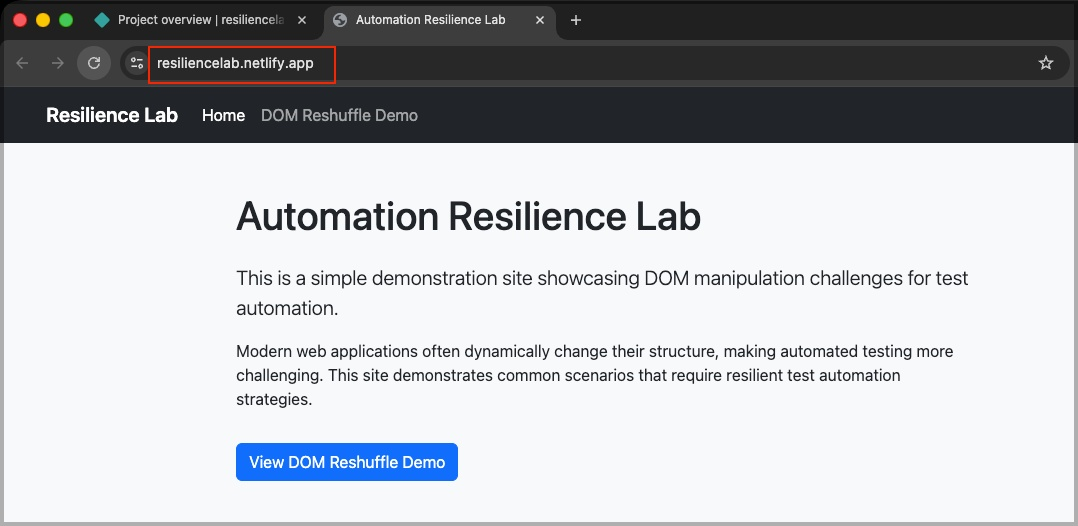
Verify the Deployment
Access the generated netlify URL to check the deployment status. Initially, you may see a “Page Not Found” error if the repository hasn’t been pushed yet.
Push your code to the main branch:

netlify will automatically detect the changes and redeploy your site.
Congratulations!
You’ve successfully set up a complete CI/CD pipeline integrating Visual Studio Code, GitHub, and netlify. Any future changes pushed to your GitHub repository will automatically trigger a new deployment on netlify!